Yealink – Import and Export Contacts to your Telephone
Exporting Contacts
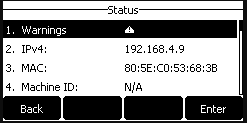
- Press and release the OK button found on the telephone base.

- Record the IPv4 address shown on the screen.
- Open the web browser of choice.
- In the address bar of the browser enter the IP address recorded in step 2, in the format of https://xxx.xxx.xxx.xxx and press enter.

- Log in to the telephone using the user-name and password. If you do not know the user name and password please contact support or open a support ticket .
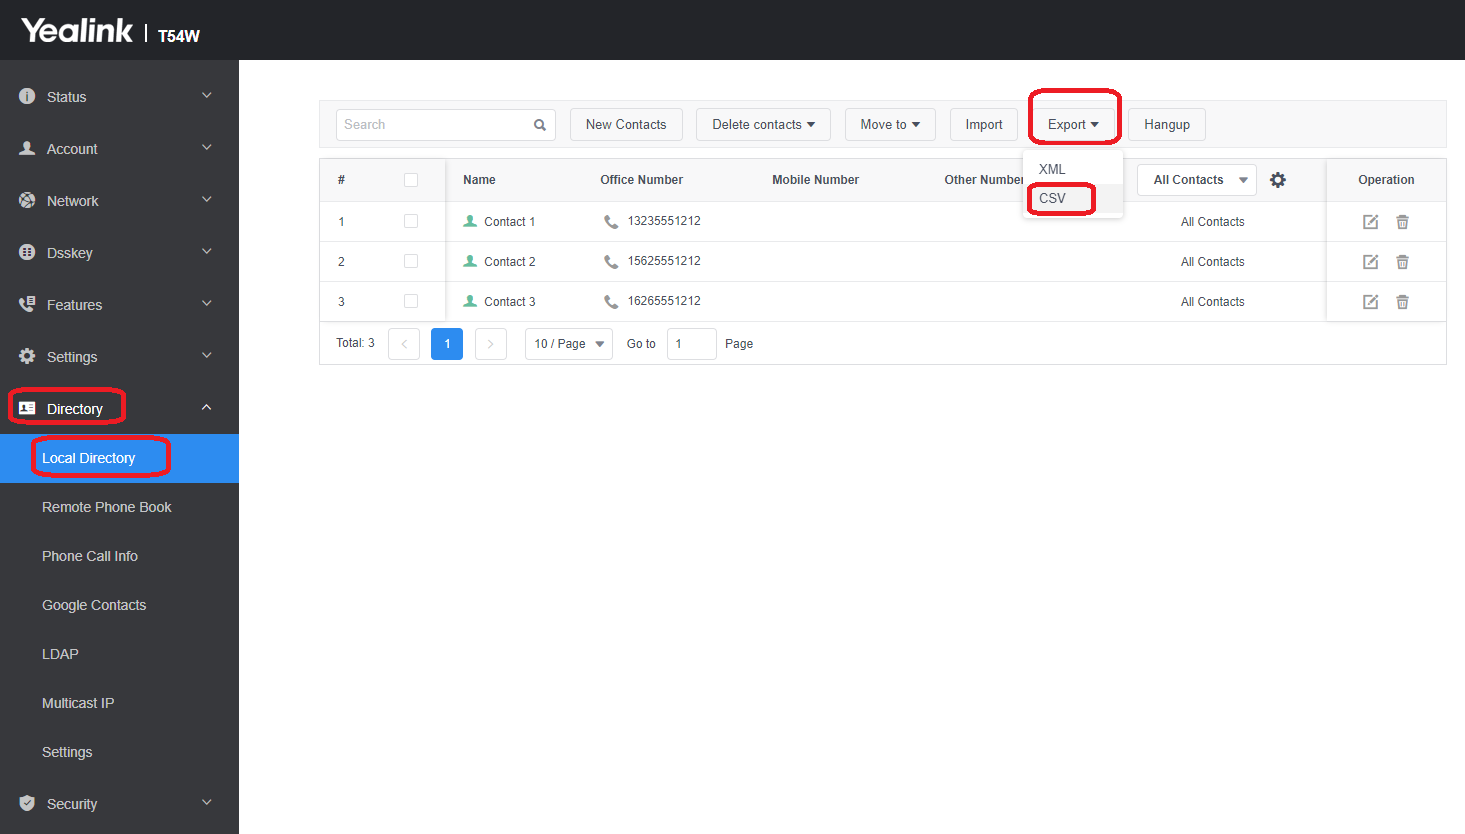
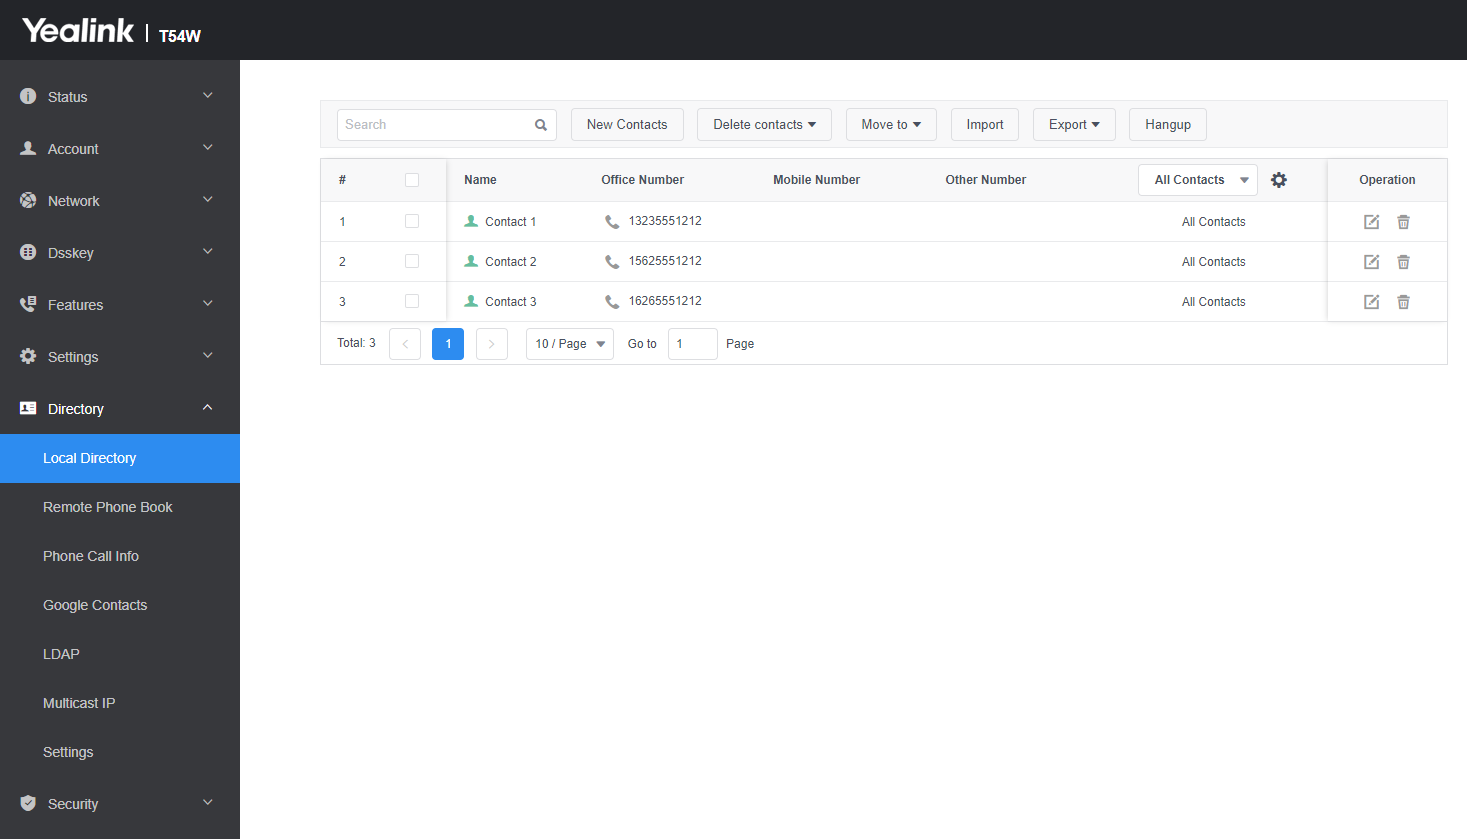
- Once logged in use the menu to go to Directory > Local Directory.
- To export the contacts select Export > CSV.
- The file will be downloaded to your local computer.
Importing Contacts
You can import contacts from a custom .csv file made manually, or you can use the .csv exported from another telephone. Click here to download the contact template
- Press and release the OK button on the telephone.

- Record the IPv4 address shown on the screen.

- Open the web browser of choice.
- In the address bar of the browser enter the IP address recorded in step 2, in the format of https://xxx.xxx.xxx.xxx and press enter.

- Log in to the telephone using the user-name and password. If you do not know the user name and password please contact support or open a support ticket .
- Once logged in use the menu to go to Directory > Local Directory.
- Select the Invoice button.

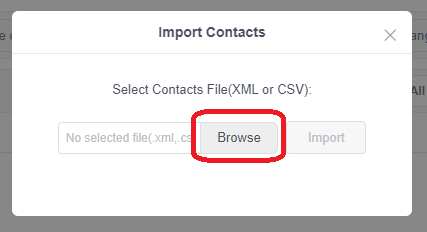
- A pop-up will appear asking you to select the file you would like to import
- Select the Browse button.
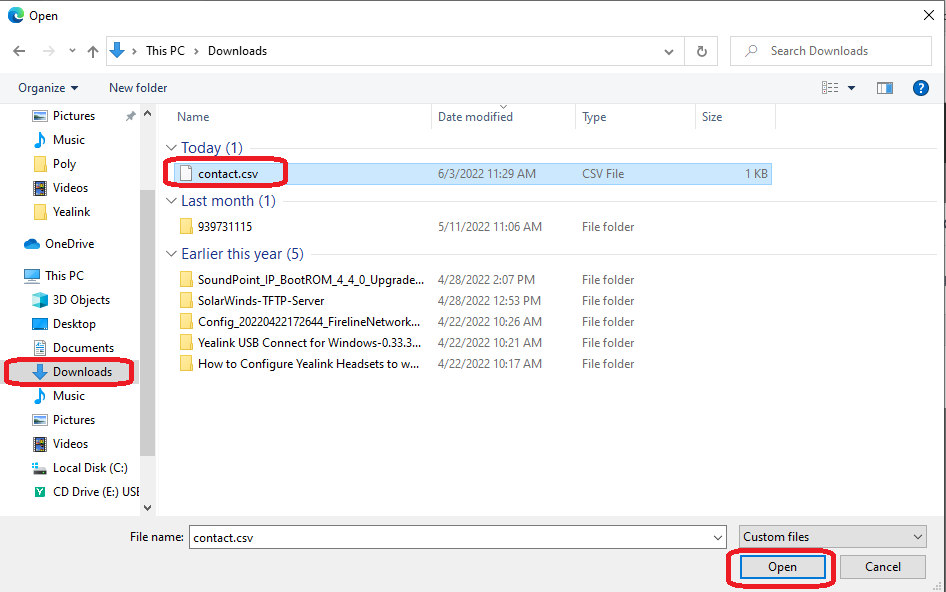
- Select the directory and file name of the contacts file you saved then click Open.
- Select the import button to upload the file to the telephone.
- Once uploaded you will see a preview screen showing the contacts that are going to be imported. Check to make sure that the information looks correct and is in the appropriate fields then click OK
- . If there is a problem, cancel the import and check your file.
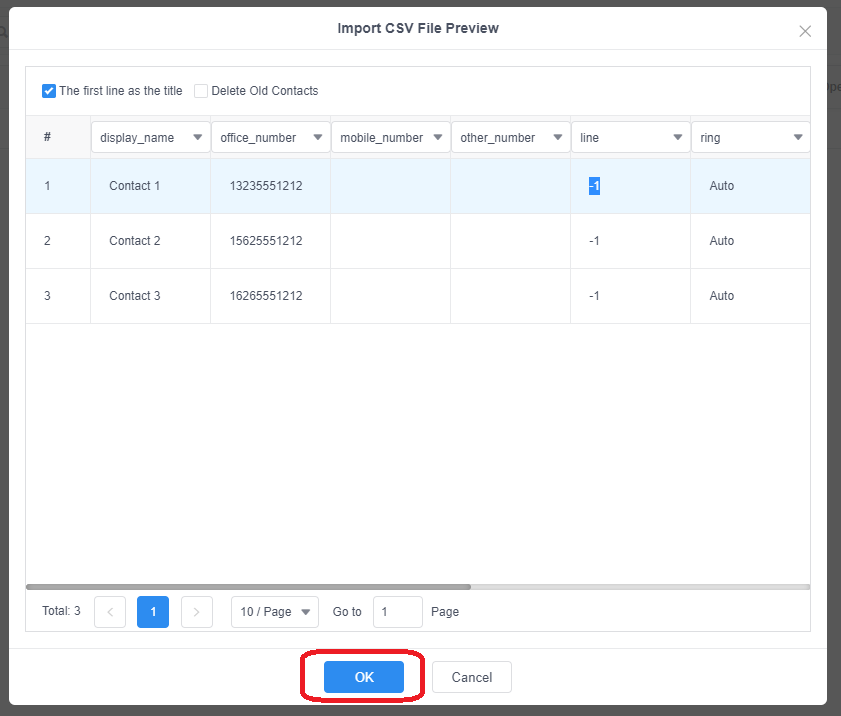
- . If there is a problem, cancel the import and check your file.
- Once the file processes your import will be complete.
Version 01.06032022