Blocking Unwanted Calls for Administrators
Fireline Communications is fully committed to fighting robocalls and other unwanted callers. As part of the TRACED ACT (Telephone Robocall Abuse Criminal Enforcement and Deterrence Act) we have implemented STIR/SHAKEN technology as well as other monitoring techniques in our effort to combat these practices. This is just the beginning! We hope that some of these activities have will have an immediate impact on your services and we look forward to providing you with additional tools in the future.
How to Report Unwanted Calls
To file a complaint with the FCC regarding unwanted and or Robocalls please visit the FCC’s Consumer Complaint Center .
To add yourself top the Do Not Call Registry, you can visit DoNotCall.gov or call 1-866-382-1222.
How to Block Unwanted Calls
Our Administrative Portal provides administrators access to more advanced settings of your system. The site is accessible from your browser by going to https://ux.firelinecommunications.com as well. From the administrative portal an administrator has the capability to block unwanted calls at a system level, meaning callers added here will not be able to reach any extension or line on your system.
- Using your browser go to https://ux.firelinecommunications.com and login.
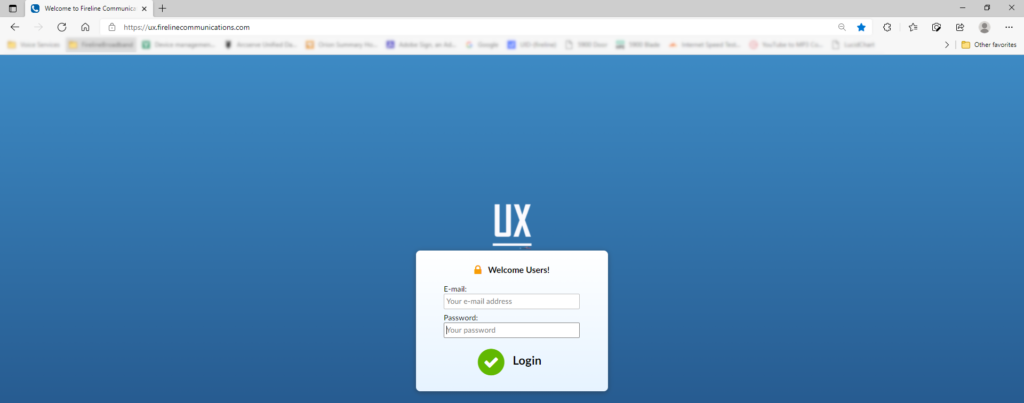
Login to the Administrative portal
2. From the Dashboard select the Settings tab.
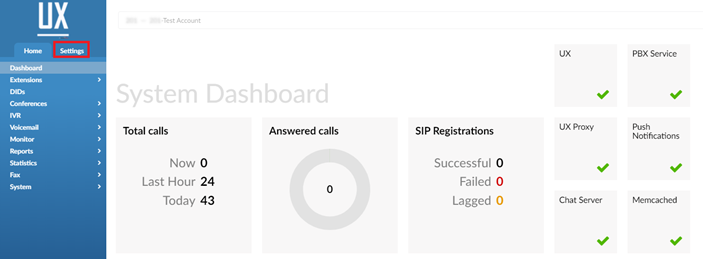
System Dashboard
3. From Settings select CLI Routing (Calling Line Identification)
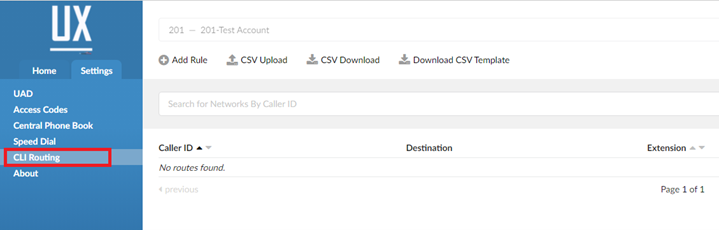
CLI Routing Form
4. Select Add Rule.
5. From the CLI Routing > Add screen, enter the telephone number that you would like to block in the Caller ID section.
6. For Destination select Deny Access.
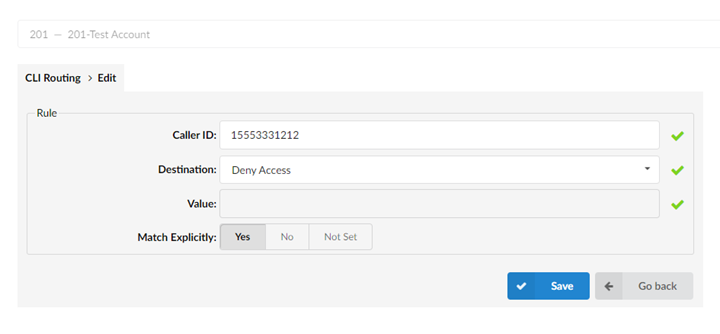
CLI Routing Edit
7. The Value field will be blocked out.
8. Select Yes for Match Explicitly.
If you want to Deny Access to a Block of numbers, you can select No.
Example: to block the numbers 1555-333-1200 through 1555-333-1209 set the following:
| Caller ID: | 1555333120 |
| Destination: | Deny Access |
| Value: | N/A |
| Match Explicitly: | No |
9. Click Save.
10. To add additional numbers, repeat steps 4-7.
11. To exit click the Sign button out in the left lower corner of your screen.